Thursday, November 8, 2012

Harvesting a wild Green Onion/ Shallot

Harvesting Wild Green Onions/ Shallots
November 8th, 2012


Entering later Fall here in Northern California, this herb just sprouted out about a month ago with the first rains. What a treat- left over from a past gardener for sure. I looked around online and it appears they can be harvested as soon as you get a couple inches above ground and continuing all winter as long as they survive. 

Note: To identify, the plants actually smell like green onions above ground if you gently disturb them.


The "bulb" is located about 1 inch underground. This part is also edible. So here I've made an effort to loosen the dirt underneath until I can gently pull the full top and bulb out together.


Here, I've successfully harvested three bulbs and roots: the smell is potent and fresh.


To prepare, I first peel off the skin (much like garlic). Then I rinse dirt off the roots and stalk, and finally I chop off the roots. The rest is edible.


Sauteed in some olive oil, then added to eggs for breakfast 


Wednesday, November 7, 2012

Worm Compost: An Experiment

A Step-by-Step Experiment with Worm Composting
November 7th, 2012


My Worm Stock:
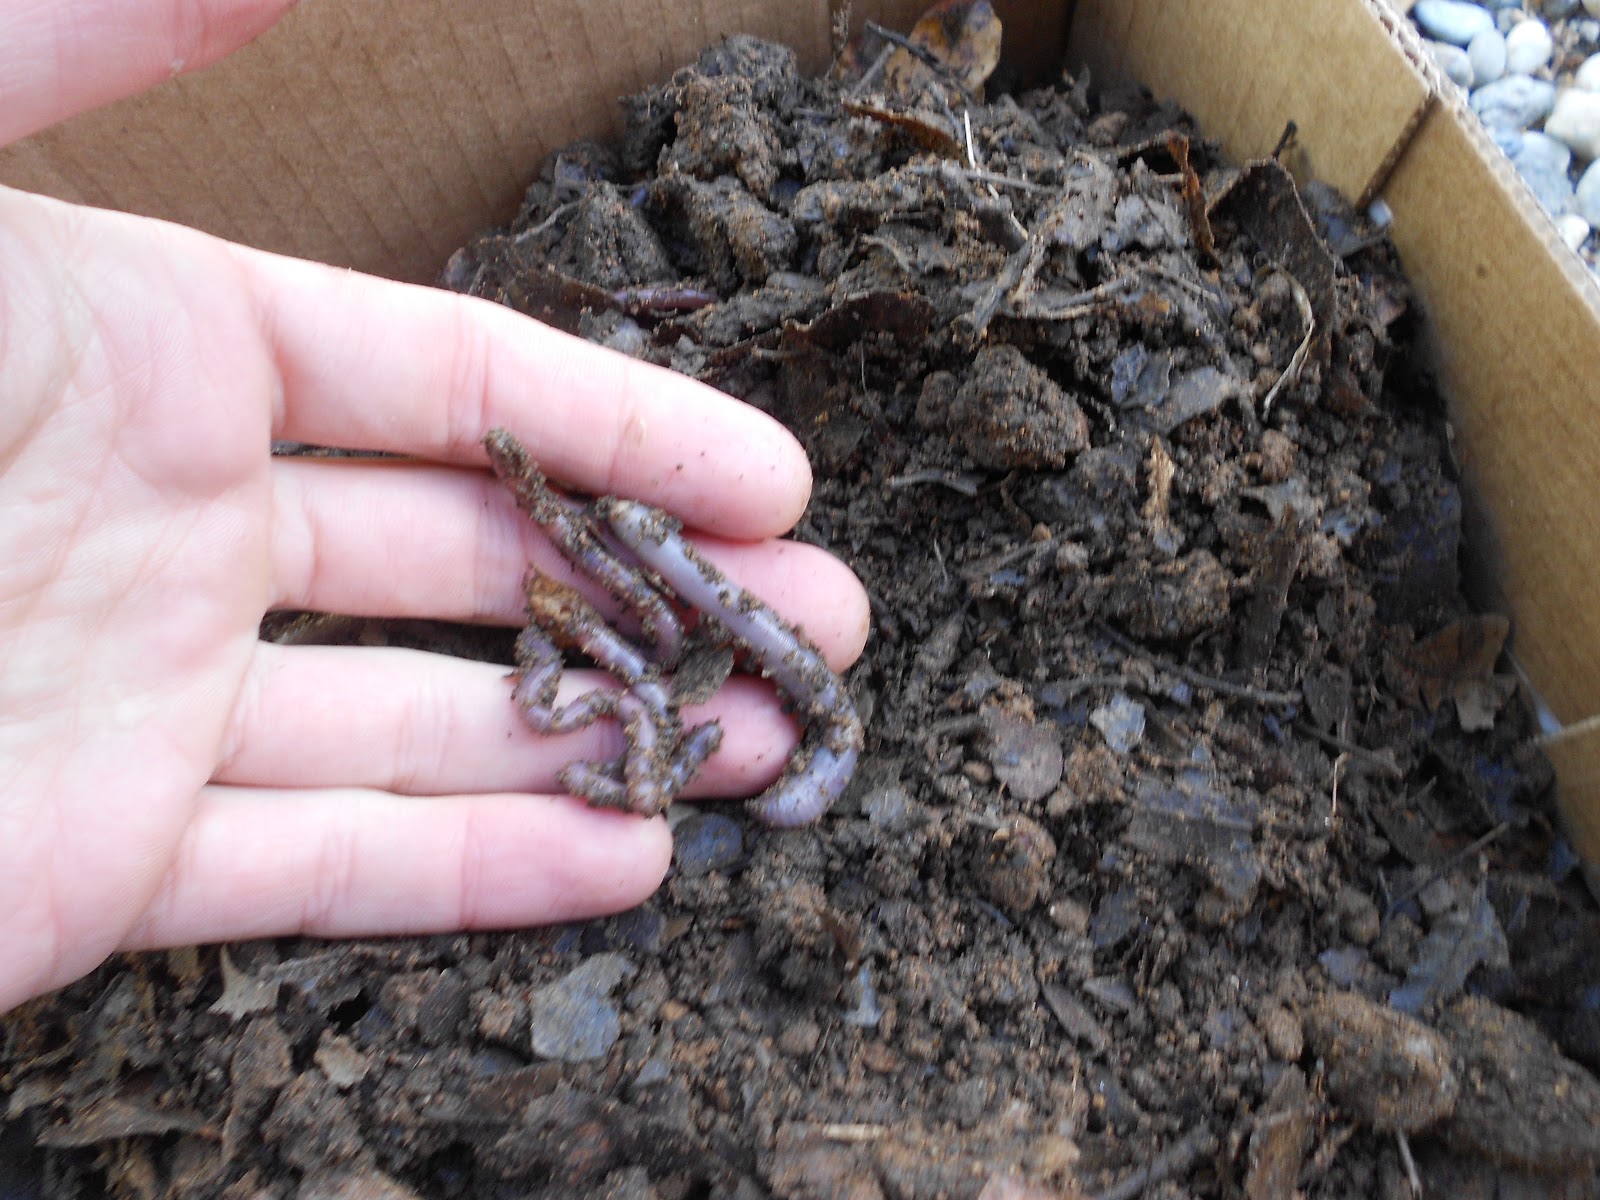
So from what I've read, Red Wigglers are the ideal composting worms. I've spent little effort to get them, instead I discovered a pile of decaying leaves where the worm population was thriving. I was able to harvest about 25-40 worms total. Here are a couple to see. I am keeping all of them in the original dirt/ leaf mix to lessen the shock of being transferred.


My Supplies:
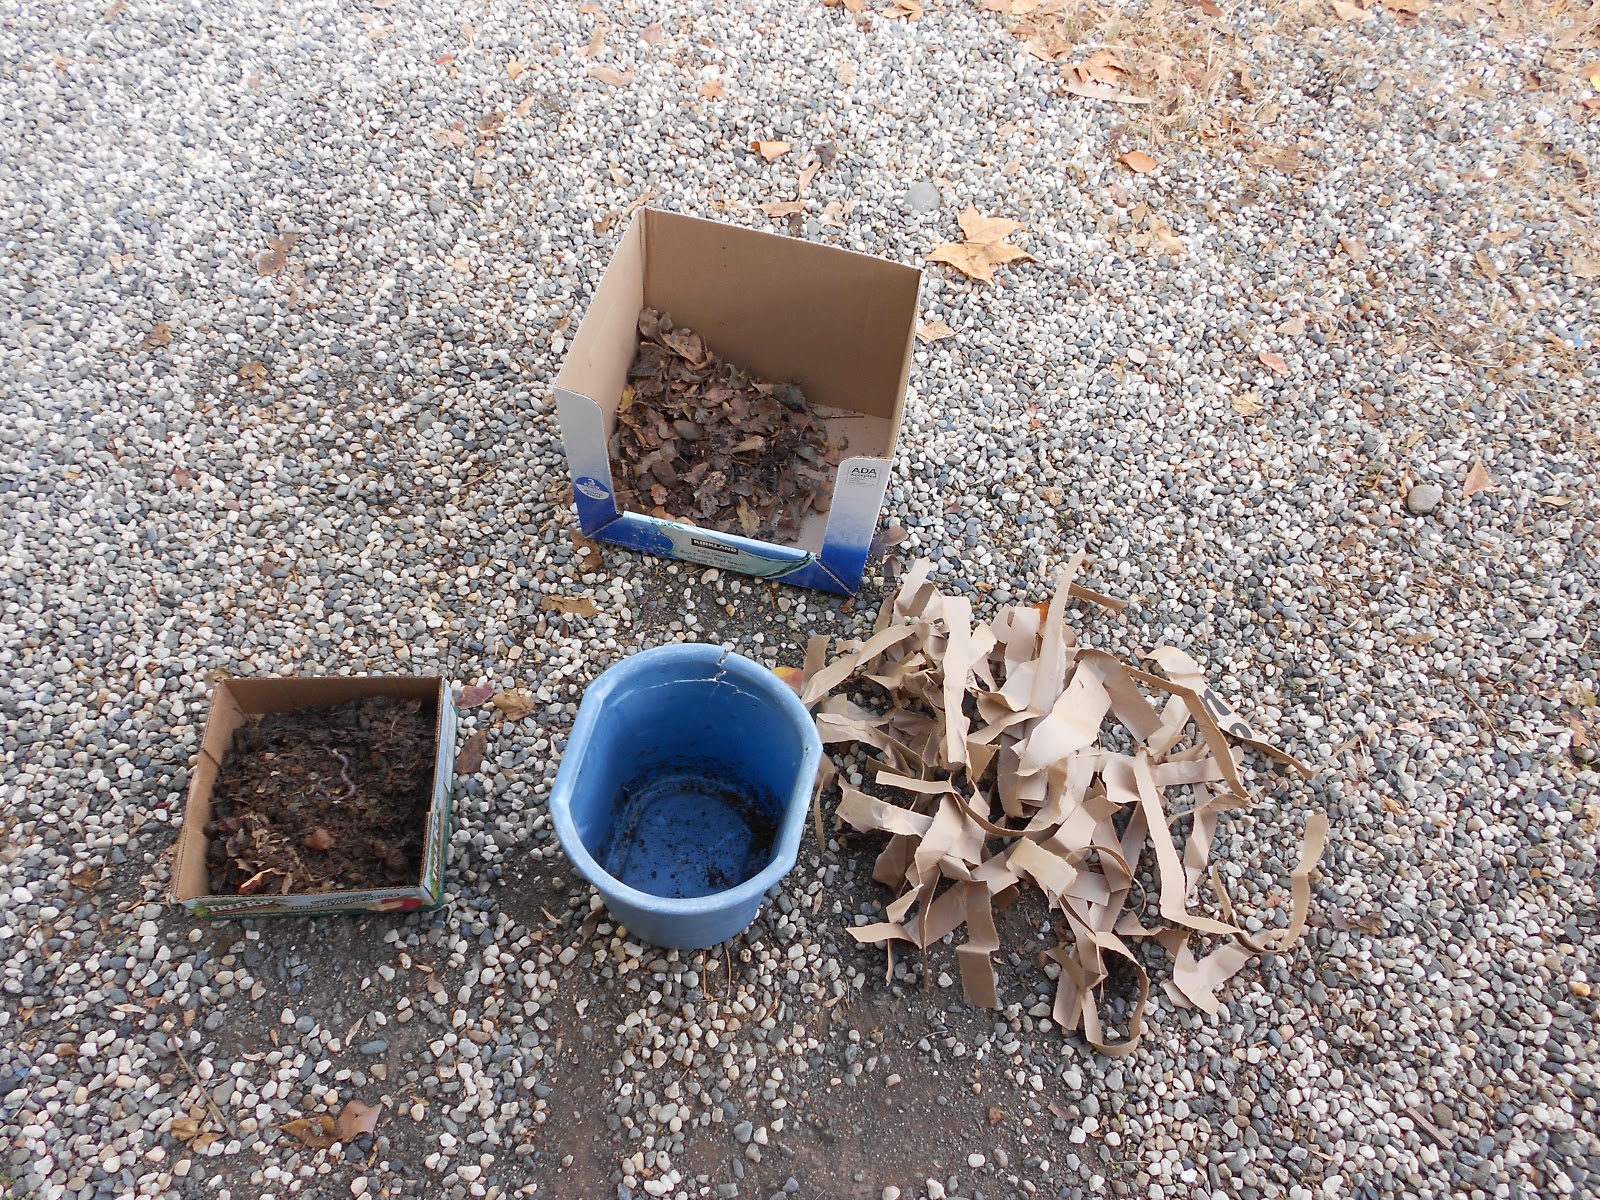
A broken plastic trash can, worms and original compost, a small pile of dry leaves, and 1 paper shopping bag cut into 1 inch strips. 


Soaking the paper shopping bag at the bottom for about one minute. 


Letting the excess water drain out so the worms don't drown!


Adding the worms and original compost


Adding some household scraps; Two cups total of half coffee grounds and half Soy Bean shells.


And some dry leaves on top to keep everything dark and moist. (plus some extra food?)


Letting it sit in a cool, darker place. I'll check back in a month or so and see how my worms are. I hope they like their new home! 

Baby Orange Tree/ Hedge Bush Transplant

Attempt at transplanting Orange Trees/ Hedge Bushes
November 7th, 2012. Obama Re-elected and cannabis legalized in CO and OR.


Drainage is key to any functional grow container


Here are the babies I've pulled from under an Orange tree at my dad's house.. I predict maybe 60% will make it... not much root mass on some so we'll see..


The right texture dirt will not stick together even when slightly moist. My premium mix is 1/3 coco fiber (Botanicare 5kg block), 1/3 quality soil (Fox Farm's Happy Frog) and 1/3 native clay soil with some organic matter in it.


Coco fiber has great benefits to soil texture. It can hold more water than dirt, yet does not compact and has a "fluffier" feel to it, which helps with better drainage. Also has hormones that promote healthy root growth.


Here they all are, I'll try and update as we see who makes the Cut this winter.

Tuesday, November 6, 2012

Overview #1 : Plants in Pots

My Current Potted Plants
November 6th, 2012


Here I have: 
9 Heavenly Bamboo recently transplanted
10 Cloves of Garlic recently planted
2 Small Cacti 
1 Agave cactus in the very back


6 recently transplanted bamboo plants


4 Agave cacti
5 recently transplanted aloe Vera
3 Salvia (sage-like) plants in the back
1 Pomegranate tree in the middle

Transplanting Iris Bulbs

Transplanting Iris Bulbs
November 6th, A warm fall day at 75 F


Iris Bulbs: 
These Iris are suitable for extreme hot and dry climate; they live here with cement on both sides exceeding daytime temp. of 115 degrees Fahrenheit some parts of the year. They each make one beautiful flower each spring, which should be trimmed back yearly. 


In a patch of Iris, most plants are connected to the same horizontally growing root bulb about 2 inches underground. Here, I've pick-axed out a directly connected plant and root mass- trying to save as much root as possible.


I tap down a pampered soil mix around the roots. Mine is made from 1/3 quality potting soil (I'm using Fox Farm's Happy Frog), 1/3 coco fiber (wonderful help for initial root formation), 1/3 native soil (clay-like, but with some organic matter).


Making sure to have appropriate drainage I try to water for a 50% runoff the first time around.


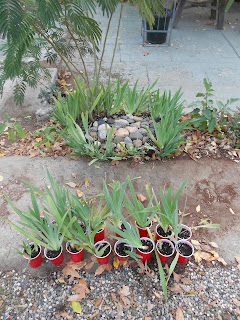
Just my first round from thinning out my Iris patch. My first 16 plants here.


I finished the next day with 32 total bulbs being transplanted.


And a thinned, healthier Iris patch with a bit of fun, creative rock work.